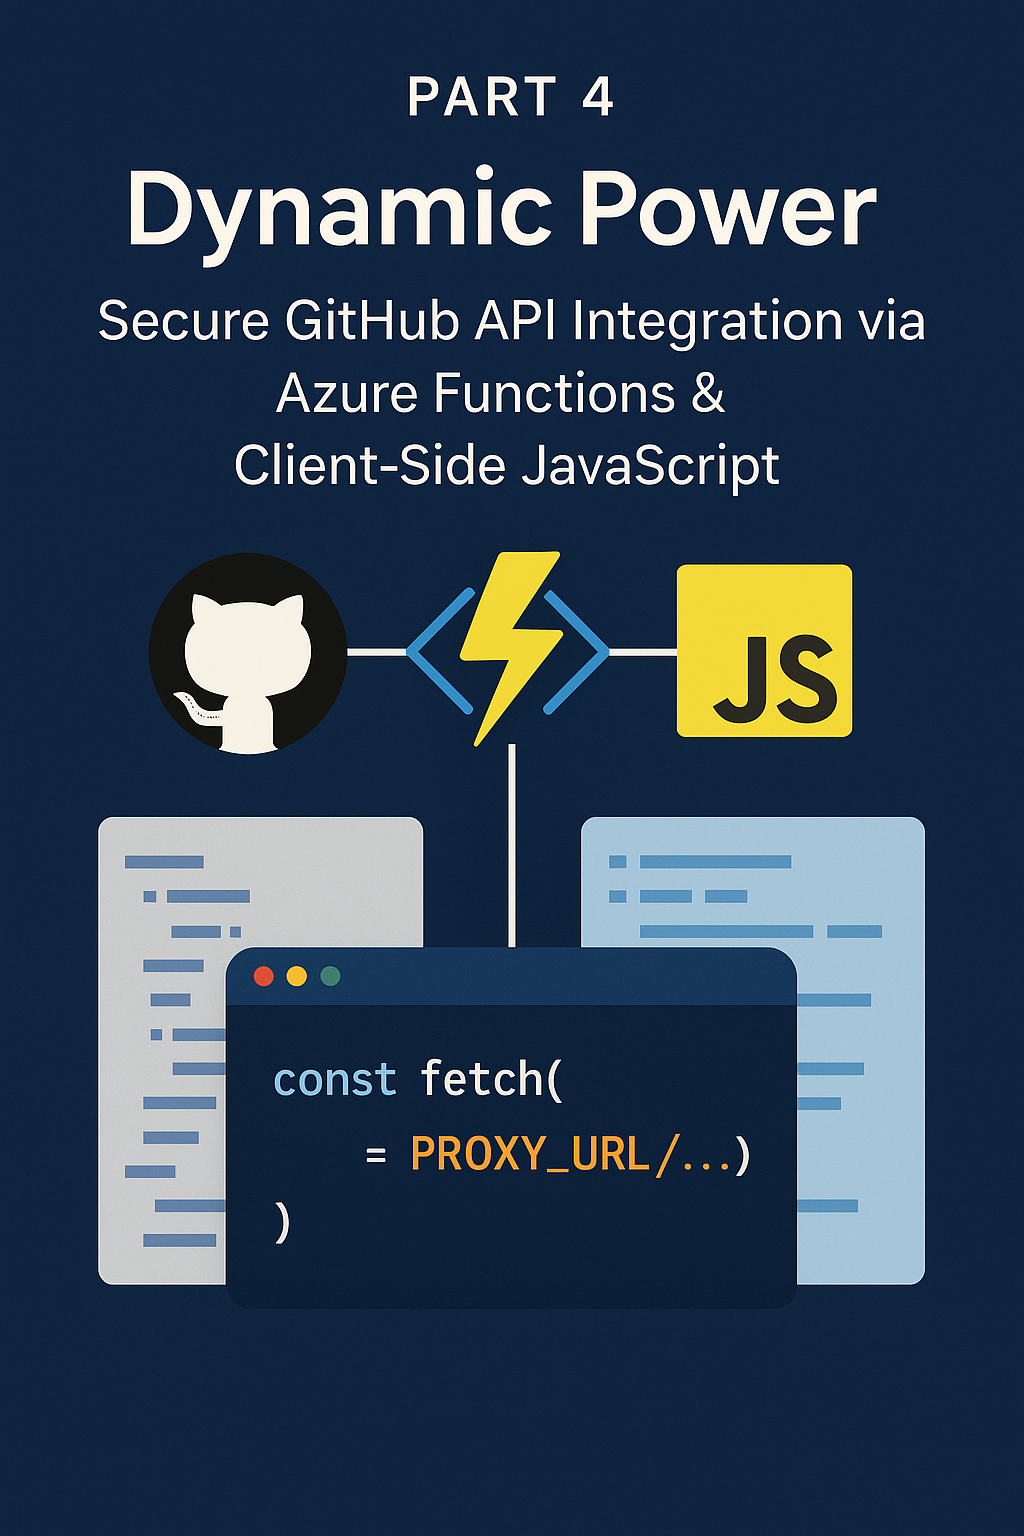
4.1. The Secure Gateway: Azure Function App (portfolioWebsitegithubAuth)
As we discussed in Part 1, one of the primary challenges with displaying dynamic data from APIs on a static site like GitHub Pages is security. We need to interact with the GitHub API, which often requires authentication (like a personal access token) to get better rate limits and access certain information. Embedding such a token directly in client-side JavaScript would be a major security risk, as it would be visible to anyone inspecting the site's code.
The "Why" Revisited:
Exposing API keys or tokens in your frontend code is like leaving your house keys under the doormat – convenient, but not secure. Malicious actors could easily find and misuse your token, potentially exhausting your API rate limits, accessing private data (if your token has those permissions), or even performing actions on your behalf.
Our Solution: The Serverless Proxy
To circumvent this, we implemented a server-side proxy using Azure Functions. This serverless function, named portfolioWebsitegithubAuth (you can find its codebase at rivie13/github-api-proxy-function on GitHub), acts as a secure intermediary:
- Client-Side Request: Our Jekyll site's JavaScript makes API requests to our Azure Function's endpoint.
- Secure Authentication & Secret Retrieval: The Azure Function, running on the server-side, uses its managed identity to securely fetch sensitive configurations like the GitHub API token from Azure Key Vault (in this project, a vault named
codegrind-platform-kv). The Function App's application settings use Key Vault References instead of storing secrets directly. This token is then used to authenticate with the actual GitHub API. - Data Forwarding: It fetches the requested data from GitHub.
- Response to Client: It then forwards the data back to our client-side JavaScript, without ever exposing the sensitive token.
Key Features of the Azure Function Proxy:
- Handles Authentication: Securely manages the GitHub API token by retrieving it from Azure Key Vault at runtime using Key Vault references. This means the token isn't stored directly in the Function App's configuration or code.
- Passes Rate Limit Information: It can also relay GitHub's API rate limit headers back to the client, which helps in debugging and managing API usage.
- CORS (Cross-Origin Resource Sharing): Configured to allow requests from our portfolio's domain.
Here's a conceptual peek at where you might find your deployed function in the Azure portal (actual UI may vary):
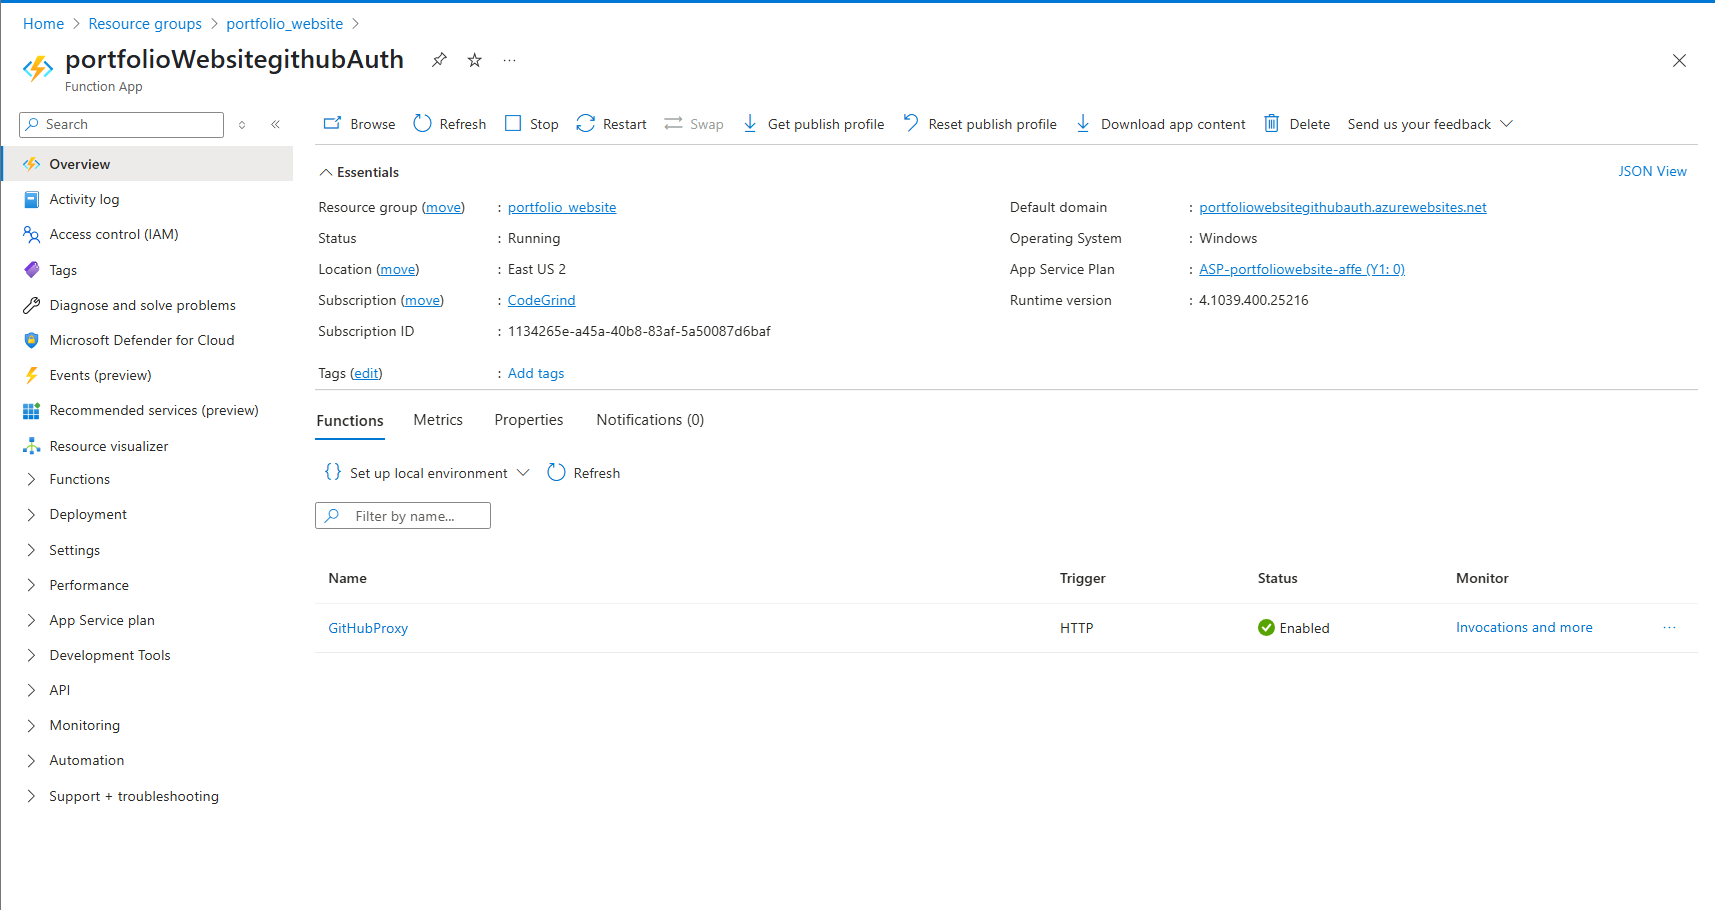
The Connection:
All our frontend JavaScript that needs GitHub data is configured to make API calls to this Azure Function's URL (e.g., https://portfolioWebsitegithubAuth.azurewebsites.net/api/github/...) instead of directly to https://api.github.com/....
This setup not only secures our API token by keeping it out of direct application settings but also provides a centralized point for managing API interactions, which can be beneficial for logging, monitoring, or adding more complex logic in the future. This was a key learning goal for the project – to implement a secure and efficient bridge for API data on a static platform, following best practices for secrets management using Azure Key Vault.
4.2. Orchestrating API Calls: assets/js/github-config.js
With our secure Azure Function proxy in place, the next step is to ensure our client-side JavaScript knows how to use it. This is where assets/js/github-config.js comes into play.
This small but crucial file serves two main purposes:
- Centralizing GitHub Username: It stores your GitHub username, making it easy to update if needed.
- Rewriting API URLs: Most importantly, it contains the logic to transform standard GitHub API URLs (
https://api.github.com/...) into URLs that point to our Azure Function proxy.
Let's look at a simplified version of the key function (the actual implementation might have more features like query parameter handling):
// assets/js/github-config.js (Simplified Example)
const GITHUB_USERNAME = 'your-github-username'; // Replace with your username
const PROXY_URL_BASE = 'https://portfolioWebsitegithubAuth.azurewebsites.net/api/github'; // Your Azure Function URL

function getProxiedGithubApiUrl(apiPath) {
  // Example: apiPath might be '/users/your-github-username/events'
  // Ensures no double slashes if apiPath starts with one
  const cleanApiPath = apiPath.startsWith('/') ? apiPath.substring(1) : apiPath;
  return `${PROXY_URL_BASE}/${cleanApiPath}`;
}

// Example usage (not in github-config.js itself, but how other scripts would use it):
// const userEventsUrl = getProxiedGithubApiUrl(`/users/${GITHUB_USERNAME}/events`);
// console.log(userEventsUrl);
// Output: https://portfolioWebsitegithubAuth.azurewebsites.net/api/github/users/your-github-username/events
By abstracting this logic into github-config.js, all other JavaScript files that need to fetch GitHub data can simply call getProxiedGithubApiUrl() with the desired GitHub API path. This keeps the rest of our codebase cleaner and makes it easy to change the proxy URL or logic in one place if ever needed.
4.3. Fetching and Displaying GitHub Data: The JavaScript Workhorses
Now for the client-side JavaScript files that do the heavy lifting of fetching data (via our proxy, of course) and dynamically updating our portfolio's content. This is where the "AI-assisted vibe coding" I mentioned in Part 1 often came in handy, especially for structuring classes, handling asynchronous operations, and implementing caching.
assets/js/github-activity.js Deep Dive:
This script is responsible for fetching and displaying your recent GitHub activity on the homepage, creating that "live" feel. It typically involves two main classes:
- GitHubActivityFetcher Class:
- Fetching User Events: Makes
fetchrequests to the proxied endpoint for user events (e.g.,/users/${GITHUB_USERNAME}/events). These events can include pushes, pull request creations, issue comments, etc. - Event Filtering & Formatting: Not all events might be relevant. This class filters them (e.g., only show 'PushEvent', 'PullRequestEvent', 'IssuesEvent') and formats them into a more readable HTML structure for the timeline.
- Rendering the Timeline: Dynamically injects the formatted activity into a designated container on your homepage.
- Client-Side Caching (
localStorage): To avoid hitting the GitHub API (even via the proxy) on every single page load, which can be excessive and lead to rate limiting, this class implements client-side caching. Fetched activity is stored inlocalStoragewith an expiry time. Subsequent visits will load from cache if the data is still fresh, significantly speeding up load times and reducing API calls. - "Refresh" Button Functionality: Often includes a button that allows users (or you, during development) to manually clear the cache and fetch the latest activity.
- Fetching User Events: Makes
- GitHubLastUpdatedFetcher Class:
- Fetching Repository Data: For each project listed in
_data/projects.ymlthat has a GitHub repository URL, this class fetches repository data, specifically looking for thepushed_attimestamp or the date of the last commit. This allows us to display "Last updated: ..." information on project cards. - Populating Fields: It finds the corresponding
<span data-github-last-updated="">Loading...</span>elements (as discussed in Part 3) and updates their content with the fetched date. - Client-Side Caching: Similar to
GitHubActivityFetcher, this class also useslocalStorageto cache the last updated timestamps, improving performance.
- Fetching Repository Data: For each project listed in
Other Key JavaScript Files:
assets/js/github-repos.js: If you have a dedicated section to list your public repositories, this script would fetch that list (e.g., from/users/${GITHUB_USERNAME}/repos) and display them, often with details like descriptions, stars, and languages. It also uses the proxy and caching.assets/js/github-stats.js&assets/js/github-contributions.js: These might be used to fetch and display contribution statistics, like a contribution graph (though embedding GitHub's own graph image is often simpler) or language usage stats across your repositories. Again, all API calls are routed through the Azure proxy.assets/js/project-cards.js: This script might be responsible for more dynamic elements within project cards beyond just the "last updated" date. For example, if you wanted to dynamically fetch and display the primary programming languages used in each project repository, this script (or a similar one) would handle that. It would parse thelanguages_urlprovided by the GitHub Repos API for each project.
The RequestQueueClient (Advanced Technique):
In some implementations, especially if you're making many API calls in quick succession (e.g., fetching language data for 20 projects), you might find a utility class like RequestQueueClient. My AI assistants were particularly helpful in conceptualizing and refining this. Its purpose is to:
- Manage Multiple API Requests: Instead of firing off all requests simultaneously, which could overwhelm the browser, the Azure proxy, or even hit GitHub's secondary rate limits (which are more complex than the primary hourly limit), a queue manages requests.
- Concurrency Control: It sends a limited number of requests at a time (e.g., 3-5 concurrent requests).
- Delay/Backoff: It can introduce slight delays between batches of requests.
This ensures a smoother experience and more robust data fetching, especially for users with slower connections or when many data points need to be loaded.
AI in JS Development:
Throughout the development of these JavaScript modules, AI played a significant role:
- Boilerplate Generation: "Generate a JavaScript class
GitHubFetcherthat takes a URL, fetches JSON, and has a method to get the data." - Asynchronous Logic: Helping structure
async/awaitcalls andPromisehandling correctly. - Debugging: "Why is this
fetchcall returning undefined?" or "How do I properly handle errors in this Promise chain?" - Caching Implementation: "Show me how to cache API responses in
localStoragewith an expiration time." - Refinement: Suggesting better variable names, ways to break down complex functions, or more efficient data manipulation techniques.
The ability to quickly iterate on JavaScript logic with an AI assistant like those in Cursor dramatically sped up the development of these dynamic features.
4.4. Enhancing User Experience: Animations and Responsiveness
A dynamic site isn't just about data; it's also about how the user experiences that data. Subtle animations and a responsive design contribute significantly to a polished feel.
assets/js/animations.js: This script typically handles UI effects. For instance:- Scroll-based Animations: Elements fading in or sliding into view as the user scrolls down the page (often using the Intersection Observer API for performance). You might have seen
data-animate="fade-in"attributes in the HTML – this script would bring them to life. - Hover Effects: More complex hover effects that might require JavaScript.
- Scroll-based Animations: Elements fading in or sliding into view as the user scrolls down the page (often using the Intersection Observer API for performance). You might have seen
assets/js/responsive.js: While most responsiveness is handled by Tailwind CSS's utility classes and custom CSS inassets/css/responsive.css, there might be cases where JavaScript is needed to enhance responsive behavior. For example, dynamically changing an element's properties or behavior based on screen size if CSS alone isn't sufficient.assets/js/main.js: This can be a catch-all for general site-wide JavaScript functionalities, like:- Dark Mode Toggle: The logic to switch between light and dark themes and save the user's preference in
localStorage. - Mobile Navigation Toggle: Handling the opening and closing of a mobile menu.
- Smooth Scrolling: Implementing smooth scrolling for anchor links.
- Dark Mode Toggle: The logic to switch between light and dark themes and save the user's preference in
These scripts add that layer of polish that makes the site feel modern and engaging.
4.5. Final Touches and Going Live
With the core dynamic features in place, it's time for the final touches before fully going live and setting up the automated deployment.
Contact Form (Formspree):
As detailed in PLANNING.MD and briefly in Part 1, integrating a contact form on a static site usually requires a third-party service. I used Formspree.
- Setup: You create an account, set up a new form, and Formspree provides you with an endpoint URL.
- HTML: You add a standard HTML form to your contact page, pointing its
actionattribute to your Formspree endpoint and setting themethodtoPOST. - Result: When a user submits the form, the data is sent to Formspree, which then forwards it to your email address. No backend code needed on your site!
Cookie Consent:
To comply with privacy regulations like GDPR, a cookie consent banner is often necessary, especially if you're using analytics or ads.
_includes/cookie-consent.html: This include likely contains the HTML markup for the banner.- Associated JS: A small JavaScript snippet (perhaps in
main.jsor its own file) handles showing the banner, and then hiding and setting a cookie orlocalStorageitem when the user accepts, so they don't see the banner on every page or visit.
Analytics & Monetization:
- Google Analytics:
- Integration: This is typically done by including a JavaScript snippet provided by Google Analytics. In our Jekyll setup, this is neatly handled by
_includes/google-tag.html, which is then included in_layouts/default.html. - Purpose: Allows you to track website traffic, user behavior (pages visited, time on site), referral sources, and much more. Essential for understanding your audience and improving your content.
- Integration: This is typically done by including a JavaScript snippet provided by Google Analytics. In our Jekyll setup, this is neatly handled by
- Google AdSense:
- Integration: If you choose to monetize your site with ads, Google AdSense provides ad code snippets. These are placed in your HTML where you want ads to appear. We used includes like
_includes/header-ad.htmland_includes/footer-ad.html(and potentially in-article ad includes) to manage these. - Purpose: Displays targeted ads on your site, allowing you to earn revenue from impressions or clicks. The
_config.ymlmight have a setting to easily enable/disable ads site-wide.
- Integration: If you choose to monetize your site with ads, Google AdSense provides ad code snippets. These are placed in your HTML where you want ads to appear. We used includes like
This automated workflow means your site is always up-to-date with the latest changes in your main branch, without any manual intervention for deployment.
4.6. Reflection: Dynamic Power in Under a Week – The Grand Finale!
And there we have it! From initial concept to a fully dynamic, feature-rich portfolio, all built on a static hosting platform (GitHub Pages) and accomplished in less than a week.
This journey has showcased several key themes:
- Strategic Planning is Paramount: The initial planning phase, heavily assisted by AI, was crucial in defining the architecture and identifying solutions to potential roadblocks (like secure API access). This upfront investment saved immense time during development.
- AI as a True Collaborator: Throughout this project, AI tools (Claude, Gemini, particularly within the Cursor IDE) served as invaluable partners. They helped brainstorm, generate code, debug complex JavaScript, refine content, and even structure documentation. This isn't about AI replacing developers, but augmenting their capabilities for incredible speed and efficiency.
- Overcoming Static Site Limitations: The Azure Function App proxy is a testament to how creative architectural choices can bring dynamic capabilities to static hosting environments, securely and cost-effectively.
- The Power of Modern Tooling: Jekyll for content management, Tailwind CSS for rapid UI development, GitHub Actions for CI/CD, and serverless functions like Azure Functions collectively provide a powerful, efficient, and often free (or very low-cost) stack for building sophisticated web projects.
- Continuous Learning: Implementing the Azure Function proxy and some of the more complex JavaScript interactions were fantastic learning experiences, pushing the boundaries of what I thought was quickly achievable on a static site.
Building this portfolio was not just about creating an online presence; it was an exercise in rapid development, problem-solving, and effective AI collaboration. The result is a site that not only showcases my work but also tells the story of its own creation – a story I hope has been insightful and inspiring for you through this tutorial series.
Thank you for following along! I encourage you to experiment with these technologies and see how AI can supercharge your own development workflows.
What's Next?
- Explore the live portfolio and see these features in action!
- Dive into the source code on GitHub to see all the details.
- Check out the Azure Function proxy code.
- Leave a comment below with your thoughts or questions!
Happy coding!