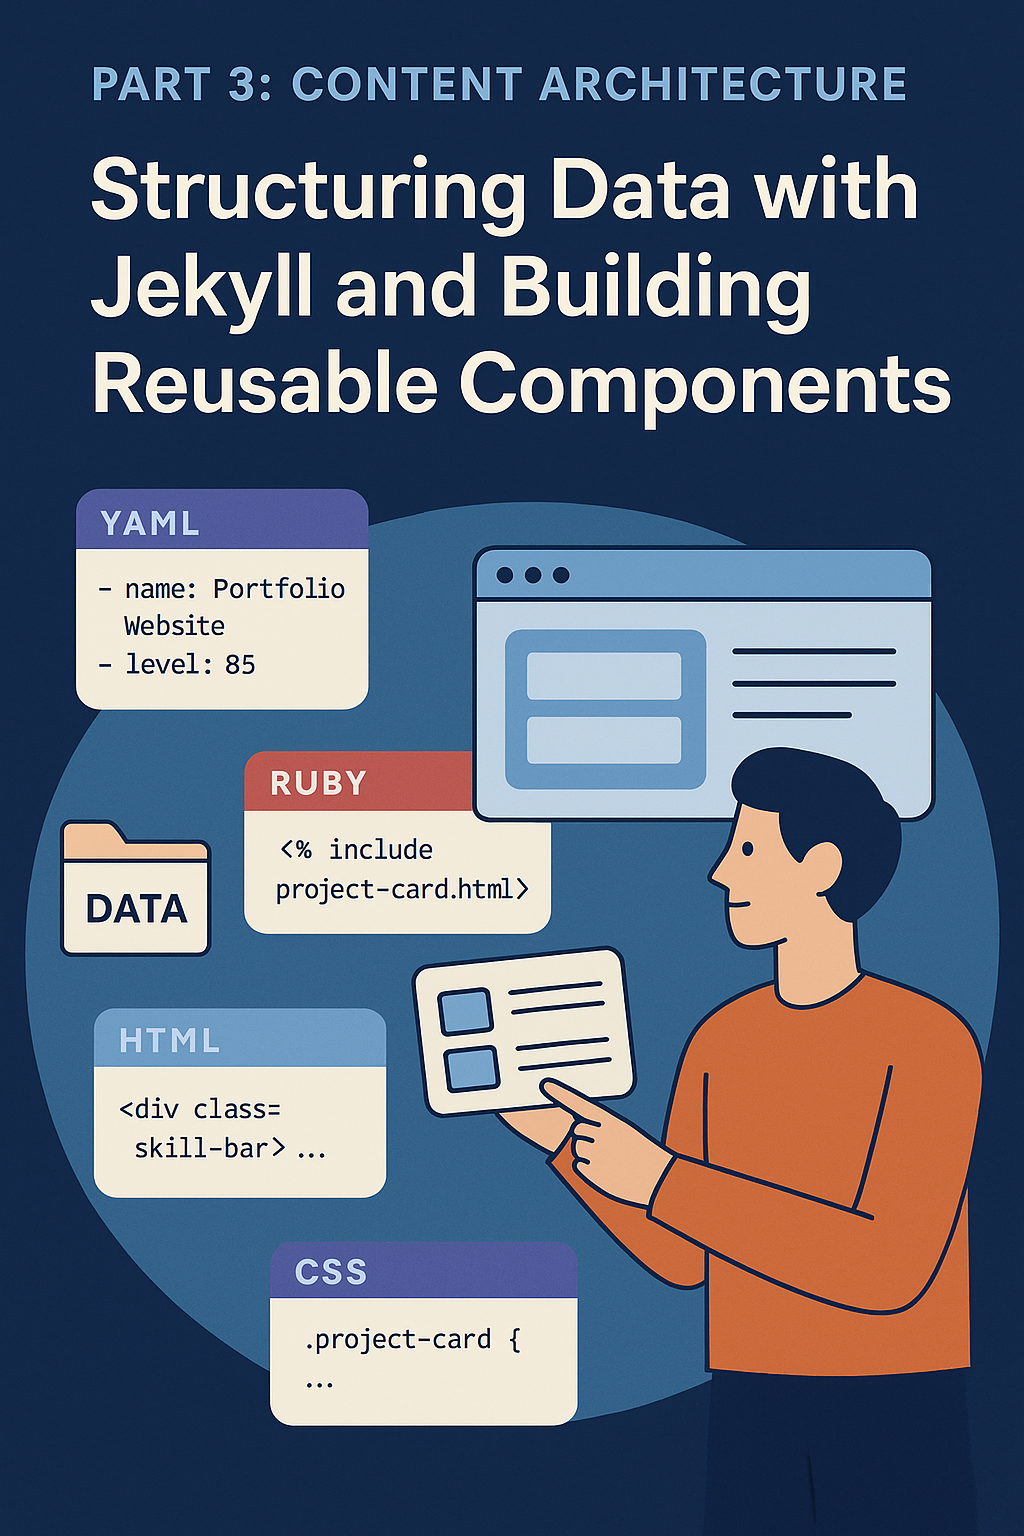
Welcome to Part 3 of our portfolio development series! In Part 1, we planned our portfolio with AI assistance, and in Part 2, we set up Jekyll and styled our site with Tailwind CSS. Now, we'll dive into one of the most crucial aspects of a maintainable website: content architecture and reusable components.
3.1. Jekyll's Data Powerhouse: The `_data` Directory
One of Jekyll's most powerful features is its ability to manage structured data through YAML files in the `_data` directory. This approach separates content from presentation, making our site more maintainable and easier to update. Let's explore how you could organize different types of content. Note that all the examples below are fictional and meant to demonstrate the structure - they don't reflect my actual experience or skills. You should customize these templates with your own information:Projects Data Structure
Here's an example structure for `_data/projects.yml` showing how you might organize project information:- name: "Portfolio Website"
description: "A dynamic Jekyll-based portfolio with GitHub integration"
detailed_description: |
A professional portfolio website built with Jekyll and hosted on GitHub Pages.
Features include dynamic GitHub activity integration via Azure Functions,
dark mode support, and responsive design with Tailwind CSS.
url: "https://rivie13.github.io"
github: "https://github.com/rivie13/rivie13.github.io"
demo: "https://rivie13.github.io"
image: "/assets/images/projects/portfolio.jpg"
technologies:
- "Jekyll"
- "Tailwind CSS"
- "Azure Functions"
- "GitHub API"
features:
- "Dynamic GitHub activity integration"
- "Dark mode support"
- "Responsive design"
- "Blog with categories and tags"
last_updated: "2025-05-12" # Auto-updated by GitHub APISkills Organization
Here's an example of how you might structure your `_data/skills.yml` file. Note that your actual file structure might be different - for instance, my actual skills file uses a simpler categorization with direct lists under each category. This is just one possible way to organize skills with proficiency levels and years of experience:- category: "Web Development"
skills:
- name: "HTML/CSS"
level: 85
years: 2
- name: "JavaScript"
level: 80
years: 2
- name: "React"
level: 75
years: 1
- category: "Programming Languages"
skills:
- name: "Python"
level: 85
years: 3
- name: "Java"
level: 75
years: 2
- name: "C++"
level: 70
years: 1
- category: "Tools & Technologies"
skills:
- name: "Git"
level: 85
years: 2
- name: "Docker"
level: 70
years: 1
- name: "VS Code"
level: 90
years: 2Experience and Education
Here's an example of how you might structure work experience in `_data/experience.yml`. Remember to replace this with your actual work history:- company: "Example Tech Corp"
position: "Software Developer"
period: "2023 - Present"
location: "Remote"
description: |
Working on full-stack web applications and cloud infrastructure.
Focus on modern JavaScript frameworks and cloud services.
achievements:
- "Implemented new feature that improved user engagement by 25%"
- "Reduced API response time by 40%"
- "Mentored 2 junior developers"
# Additional entries...- institution: "State University"
degree: "B.S. in Computer Science"
period: "2020 - 2024"
location: "Anytown, USA"
achievements:
- "Dean's List 2022-2023"
- "Computer Science Club Member"
- "Completed Senior Project on Web Development"
# Additional entries...3.2. Building Reusable Views: The Magic of `_includes`
Jekyll's include system allows us to create modular, reusable components. Let's look at some key components I developed:Project Cards
The `_includes/project-card.html` component displays project information consistently:<div class="project-card bg-white dark:bg-gray-800 rounded-lg shadow-lg overflow-hidden transition-transform hover:scale-105" data-project-id="">
<!-- Project Image -->
<img
src=""
alt=""
class="w-full h-48 object-cover"
loading="lazy"
>
<div class="p-6">
<!-- Project Title and Links -->
<div class="flex justify-between items-start mb-4">
<h3 class="text-xl font-bold text-gray-900 dark:text-white">
</h3>
<div class="flex space-x-2">
{% if project.github %}
<a href="{{ project.github }}"
class="text-gray-600 hover:text-blue-600 dark:text-gray-400 dark:hover:text-blue-400"
target="_blank"
rel="noopener noreferrer"
aria-label="View {{ project.name }} on GitHub">
<svg class="w-6 h-6" fill="currentColor" viewBox="0 0 24 24">
<path d="M12 .297c-6.63 0-12 5.373-12 12 0 5.303 3.438 9.8 8.205 11.385.6.113.82-.258.82-.577 0-.285-.01-1.04-.015-2.04-3.338.724-4.042-1.61-4.042-1.61C4.422 18.07 3.633 17.7 3.633 17.7c-1.087-.744.084-.729.084-.729 1.205.084 1.838 1.236 1.838 1.236 1.07 1.835 2.809 1.305 3.495.998.108-.776.417-1.305.76-1.605-2.665-.3-5.466-1.332-5.466-5.93 0-1.31.465-2.38 1.235-3.22-.135-.303-.54-1.523.105-3.176 0 0 1.005-.322 3.3 1.23.96-.267 1.98-.399 3-.405 1.02.006 2.04.138 3 .405 2.28-1.552 3.285-1.23 3.285-1.23.645 1.653.24 2.873.12 3.176.765.84 1.23 1.91 1.23 3.22 0 4.61-2.805 5.625-5.475 5.92.42.36.81 1.096.81 2.22 0 1.606-.015 2.896-.015 3.286 0 .315.21.69.825.57C20.565 22.092 24 17.592 24 12.297c0-6.627-5.373-12-12-12"/>
</svg>
</a>
{% endif %}
{% if project.demo %}
<a href="{{ project.demo }}"
class="text-gray-600 hover:text-blue-600 dark:text-gray-400 dark:hover:text-blue-400"
target="_blank"
rel="noopener noreferrer"
aria-label="View live demo of {{ project.name }}">
<svg class="w-6 h-6" fill="none" stroke="currentColor" viewBox="0 0 24 24">
<path stroke-linecap="round" stroke-linejoin="round" stroke-width="2" d="M15 12a3 3 0 11-6 0 3 3 0 016 0z"/>
<path stroke-linecap="round" stroke-linejoin="round" stroke-width="2" d="M2.458 12C3.732 7.943 7.523 5 12 5c4.478 0 8.268 2.943 9.542 7-1.274 4.057-5.064 7-9.542 7-4.477 0-8.268-2.943-9.542-7z"/>
</svg>
</a>
{% endif %}
</div>
</div>
<!-- Project Description -->
<p class="text-gray-600 dark:text-gray-300 mb-4">
</p>
<!-- Technologies -->
<div class="mb-4">
<div class="flex flex-wrap gap-2">
{% for tech in project.technologies %}
<span class="px-2 py-1 text-sm bg-blue-100 text-blue-800 dark:bg-blue-900 dark:text-blue-200 rounded">
{{ tech }}
</span>
{% endfor %}
</div>
</div>
<!-- Last Updated -->
<div class="text-sm text-gray-500 dark:text-gray-400 flex items-center">
<svg class="w-4 h-4 mr-1" fill="none" stroke="currentColor" viewBox="0 0 24 24">
<path stroke-linecap="round" stroke-linejoin="round" stroke-width="2" d="M12 8v4l3 3m6-3a9 9 0 11-18 0 9 9 0 0118 0z"/>
</svg>
Last updated: <span data-github-last-updated="">Loading...</span>
</div>
</div>
</div>Skill Bars
The `_includes/skill-bar.html` component visualizes skill proficiency:<div class="skill-bar mb-4">
<div class="flex justify-between items-center mb-1">
<span class="text-sm font-medium text-gray-700 dark:text-gray-300">
{% if skill.years %}
<span class="text-xs text-gray-500 dark:text-gray-400">
({{ skill.years }} years)
</span>
{% endif %}
</span>
<span class="text-sm font-medium text-gray-700 dark:text-gray-300">
%
</span>
</div>
<div class="w-full bg-gray-200 rounded-full h-2.5 dark:bg-gray-700">
<div class="bg-blue-600 h-2.5 rounded-full transition-all duration-500"
style="width: 0%"
data-target-width="%">
</div>
</div>
</div>3.3. Using Components in Pages
Now that we have our data structure and components, let's see how to use them in our pages. Here's an example from `projects.html`:---
layout: default
title: Projects
---
<div class="max-w-6xl mx-auto px-4 sm:px-6 lg:px-8 py-12">
<h1 class="text-3xl font-bold mb-8 text-gray-900 dark:text-white opacity-0" data-animate="fade-in">
My Projects
</h1>
<div class="grid grid-cols-1 md:grid-cols-2 lg:grid-cols-3 gap-6">
{% for project in site.data.projects %}
{% include project-card.html project=project %}
{% endfor %}
</div>
</div>---
layout: default
title: Skills
---
<div class="max-w-4xl mx-auto px-4 sm:px-6 lg:px-8 py-12">
<h1 class="text-3xl font-bold mb-8 text-gray-900 dark:text-white opacity-0" data-animate="fade-in">
Technical Skills
</h1>
<div class="space-y-8">
{% for category in site.data.skills %}
<div class="opacity-0" data-scroll="fade-up">
<h2 class="text-2xl font-bold mb-4 text-gray-900 dark:text-white">
{{ category.category }}
</h2>
<div class="space-y-4">
{% for skill in category.skills %}
{% include skill-bar.html skill=skill %}
{% endfor %}
</div>
</div>
{% endfor %}
</div>
</div>3.4. Enhancing Components with JavaScript
To make our components truly dynamic, we need to add some JavaScript functionality. Here's how I enhanced the project cards and skill bars:Project Card Enhancements
In `assets/js/project-cards.js`:class ProjectCardManager {
constructor() {
this.cards = document.querySelectorAll('.project-card');
this.initializeCards();
}
initializeCards() {
this.cards.forEach(card => {
// Add hover animations
card.addEventListener('mouseenter', () => {
card.style.transform = 'translateY(-5px)';
});
card.addEventListener('mouseleave', () => {
card.style.transform = 'translateY(0)';
});
// Initialize GitHub last updated date
const projectId = card.dataset.projectId;
if (projectId) {
this.fetchLastUpdated(projectId, card);
}
});
}
async fetchLastUpdated(projectId, card) {
try {
const dateSpan = card.querySelector('[data-github-last-updated]');
if (!dateSpan) return;
const response = await fetch(`/api/github/repos/${projectId}`);
const data = await response.json();
const lastUpdated = new Date(data.pushed_at);
dateSpan.textContent = lastUpdated.toLocaleDateString();
} catch (error) {
console.error('Error fetching last updated date:', error);
}
}
}
// Initialize when DOM is loaded
document.addEventListener('DOMContentLoaded', () => {
new ProjectCardManager();
});Skill Bar Animations
In `assets/js/skill-bars.js`:class SkillBarAnimator {
constructor() {
this.skillBars = document.querySelectorAll('.skill-bar');
this.observer = this.createIntersectionObserver();
this.initializeObserver();
}
createIntersectionObserver() {
return new IntersectionObserver((entries) => {
entries.forEach(entry => {
if (entry.isIntersecting) {
this.animateSkillBar(entry.target);
this.observer.unobserve(entry.target);
}
});
}, {
threshold: 0.5
});
}
initializeObserver() {
this.skillBars.forEach(bar => {
this.observer.observe(bar);
});
}
animateSkillBar(skillBar) {
const progressBar = skillBar.querySelector('[data-target-width]');
const targetWidth = progressBar.dataset.targetWidth;
// Reset to 0
progressBar.style.width = '0%';
// Animate to target width
requestAnimationFrame(() => {
progressBar.style.width = targetWidth;
});
}
}
// Initialize when DOM is loaded
document.addEventListener('DOMContentLoaded', () => {
new SkillBarAnimator();
});3.5. Maintaining Data and Components
To keep our content architecture maintainable, I follow these best practices: 1. **Single Source of Truth**: All structured data lives in the `_data` directory. 2. **Component Documentation**: Each component in `_includes` has a comment block explaining its purpose and required parameters. 3. **Consistent Naming**: Follow a clear naming convention for both data files and components. 4. **Version Control**: Track changes to data files and components separately in git commits. 5. **Regular Updates**: Keep project data current using the GitHub API integration. The `MAINTENANCE.MD` file in the repository provides detailed instructions for updating content and managing the site's data structure.---
That concludes Part 3 of our portfolio tutorial series! We've covered how to: - Structure data effectively using Jekyll's `_data` directory - Create reusable components with `_includes` - Enhance components with JavaScript for dynamic functionality - Maintain a clean and organized content architecture
Remember that all the examples shown in this post are templates meant to demonstrate the structure and possibilities - they don't reflect my actual skills, experience, or education. When building your own portfolio, you should:
1. Replace all example data with your actual information
2. Modify the data structures to better fit your needs
3. Adjust the component designs to match your style
4. Consider different ways to organize and present your unique skills and experiences
In Part 4, we'll dive into the exciting world of dynamic GitHub API integration through our Azure Function proxy, bringing real-time data to our static site.
Stay tuned, and feel free to experiment with these data structures and components. Remember, good architecture is the foundation of a maintainable website!